Once your podcast is edited, cleaned up, and mixed, there’s one last crucial step before publishing — mastering.
Mastering ensures your final audio sounds consistent, polished, and balanced across all platforms and devices.
In Adobe Audition, you don’t need expensive third-party plugins to achieve this — the built-in mastering tools are powerful and easy to use.
In this guide, we’ll show you how to master your podcast audio step by step for professional results.
1. What Is Audio Mastering (and Why It Matters)?
Mastering is the final stage of audio production. It optimizes your sound for loudness, clarity, and consistency.
Think of it as fine-tuning your entire mix — ensuring:
- The loudness meets industry standards (so it’s not too quiet or too harsh).
- The EQ is balanced (no muddy or overly bright tones).
- The dynamics are smooth and natural.
💡 Pro Tip: Even subtle mastering can dramatically improve your podcast’s sound quality and listener experience.
2. Prepare Your Final Mix
Before mastering, make sure your mix is finished and exported as a single audio file.
- In Multitrack View, go to Multitrack → Mixdown Session to New File → Entire Session.
- This creates a new waveform file of your full episode.
- Save it as a WAV file at 44,100 Hz / 24-bit for maximum quality before mastering.
3. Open the Mastering Effect
- With your mixdown file open, go to Effects → Special → Mastering.
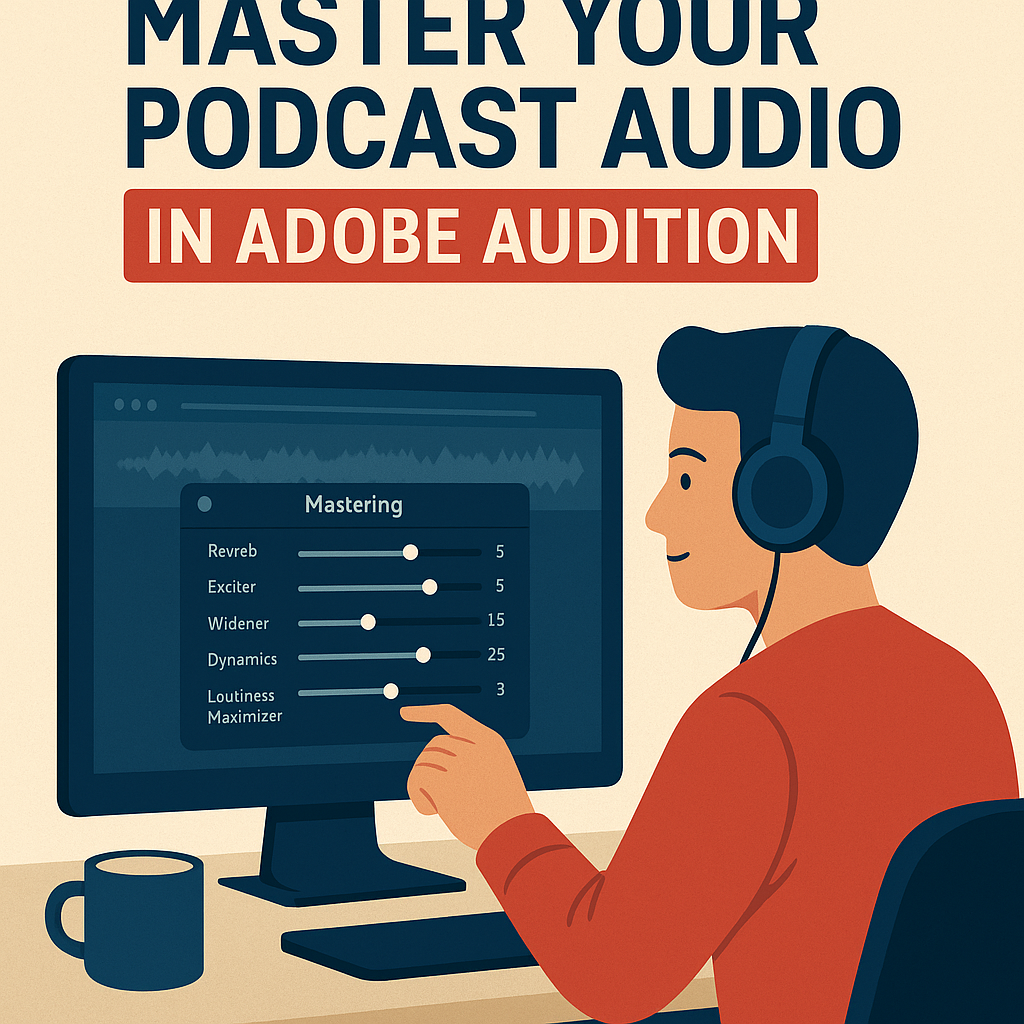
- The Mastering window appears, offering multiple controls for EQ, Exciter, Reverb, Limiter, and more.
You can start with a preset like “Podcast Master” or “Subtle Clarity”, then tweak to taste.
4. Adjust the Key Mastering Controls
Here’s a breakdown of the most important settings:
| Setting | Purpose | Suggested Value |
|---|---|---|
| Reverb | Adds subtle space — avoid too much | 5–10% |
| Exciter | Adds brightness and clarity | 5–15% |
| Dynamics | Light compression for balance | 20–40% |
| EQ | Shapes tone — cut lows, boost mids | +2 dB @ 3 kHz |
| Loudness Maximizer | Increases perceived volume safely | -0.3 dB ceiling |
🎧 Pro Tip: Keep an eye on the Levels Meter — your output should peak just below 0 dB without clipping.
5. Match Loudness to Industry Standards
Podcasts and streaming platforms use loudness normalization, so matching LUFS (Loudness Units Full Scale) is critical.
To check your loudness:
- Open Window → Match Loudness.
- Drag your mastered file into the panel.
- Set the Target Loudness to –16 LUFS (typical for podcasts).
- Click Run.
Audition automatically adjusts your file’s overall gain to match the standard.
6. Preview Your Master
Play back the mastered version on:
- Headphones
- Laptop speakers
- Smartphone
This helps ensure your mix sounds great across different playback systems.
💡 Tip: Take short breaks — mastering decisions are easier with fresh ears.
7. Export Your Final Master
When satisfied:
- Go to File → Export → File.
- Choose Format: MP3 (128 kbps, Mono) or WAV (44.1 kHz, 16-bit) for platforms that re-encode audio.
- Name it clearly — e.g., “Episode-10-FinalMaster.mp3.”
If you’re uploading to a podcast host (like Spotify or Apple Podcasts), your file is now ready for publishing.
8. Save a Mastering Preset
To speed up future episodes:
- In the Mastering Effect window, click Save Settings As.
- Name it “Podcast Master Preset.”
- Next time, apply it in one click to maintain consistent sound across all episodes.
Conclusion
Mastering your podcast in Adobe Audition is the secret to achieving that smooth, radio-quality finish.
By balancing EQ, dynamics, and loudness, you ensure every episode sounds professional — whether your audience listens on studio monitors, car speakers, or earbuds.
Next up: “How to Create a Podcast Template in Adobe Audition for Faster Editing.”
