Once you find the perfect sound for your podcast, voiceover, or mix, you don’t want to rebuild it from scratch every time. That’s where custom presets in Adobe Audition come in. Whether it’s your favorite EQ curve, noise reduction setting, or full mastering chain, saving it as a preset lets you apply it instantly to future projects — ensuring consistent, professional results.
This guide shows you how to create, save, and manage your own custom presets in Adobe Audition.
1. Why Use Presets?
Presets save both time and consistency.
They help you quickly reproduce the same high-quality sound across episodes, videos, or client projects.
🎧 Perfect for:
- Podcasters who want the same voice tone every week
- Audio editors managing multiple shows
- Creators balancing efficiency and professional polish
💡 Pro Tip: Think of presets as your signature sound — your workflow captured in one click.
2. Types of Presets You Can Create
Adobe Audition allows you to save presets in almost every panel or effect:
| Preset Type | Where It’s Saved | Example |
|---|---|---|
| Effect Preset | Inside the Effects Rack | “Podcast Voice EQ” |
| Rack Preset | Full chain of multiple effects | “Voice Cleanup Chain” |
| Noise Reduction Preset | Noise Reduction (Process) window | “Office Background Fix” |
| Essential Sound Preset | Essential Sound Panel | “Dialogue – Clear and Bright” |
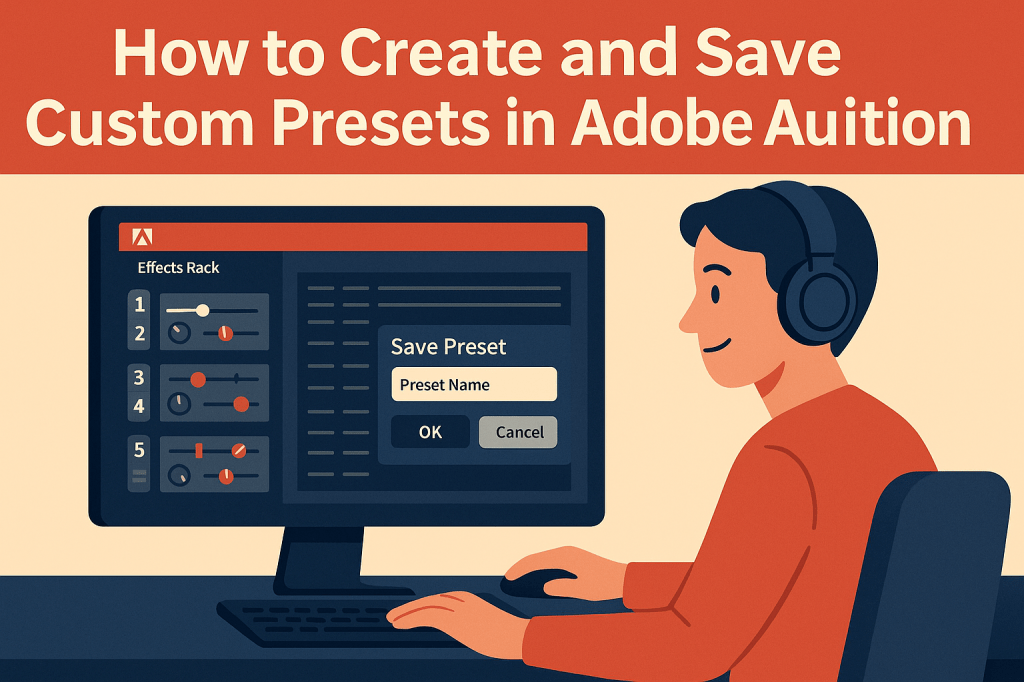
3. Create a Custom Effect Preset
Let’s say you’ve dialed in your perfect EQ:
- Go to Effects → Filter and EQ → Parametric Equalizer.
- Adjust frequencies to your liking (e.g., cut low rumble, boost clarity at 3 kHz).
- Click the Preset dropdown at the top of the window.
- Choose Save Settings As…
- Name it something descriptive — for example, “Podcast Voice EQ – Warm Tone.”
You can now access this preset anytime under that same effect.
4. Save an Effects Rack Preset
If you frequently use the same combination of effects (like EQ + Compression + Limiter):
- Open the Effects Rack panel.
- Add your preferred effects in order.
- Adjust settings for each.
- Click the Rack Preset dropdown → Save Rack Preset.
- Name it (e.g., “Podcast Master Chain.”)
🎙️ Pro Tip: The Effects Rack order matters — EQ should usually come before compression.
5. Save a Noise Reduction Preset
To avoid re-tuning your noise cleanup settings each time:
- Open Effects → Noise Reduction / Restoration → Noise Reduction (Process).
- Capture your Noise Print and adjust settings (e.g., 60% reduction, 15 dB).
- Click Save Settings.
- Name your preset — for example, “Room Hum Reduction.”
Next time, you can simply load the preset and apply it directly.
6. Save Presets in the Essential Sound Panel
If you prefer working visually:
- Tag your clip as Dialogue, Music, or SFX.
- Adjust sliders for clarity, repair, and volume.
- Click the menu icon (three lines) → Save Preset.
- Give it a name, such as “Dialogue – Podcast Voice.”
This preset can now be applied to any future project for instant cleanup and tone shaping.
7. Organize and Reuse Your Presets
All your saved presets remain available globally within Adobe Audition.
You can even export them for backup or to share across computers.
To export:
- Go to Edit → Preferences → Presets.
- Click Export to save as an XML file.
To import later, click Import and select the saved XML file.
💾 Tip: Store your presets in cloud storage (like Creative Cloud Files or Dropbox) so you can use them anywhere.
8. Keep a Master Preset Library
As your podcast or projects evolve, build a categorized library:
- 🎙️ Voice & Dialogue — EQ, Compressor, Master Chain
- 🎵 Music — Loudness, Stereo Enhancer
- 🎧 Cleanup — Noise Reduction, DeReverb
- 🔊 Broadcast — Match Loudness, Mastering
This helps you maintain a consistent, professional sound across all productions.
Conclusion
Custom presets are the secret weapon for speed and consistency in Adobe Audition.
Once you save your effects and chains, every new project starts from a professional baseline — helping you focus on creativity instead of setup.
Next up: “How to Use Match Loudness Presets for Podcast Mastering.”
