Mixing dialogue manually can take hours — adjusting levels, EQ, compression, and noise control for every clip.
Adobe Audition’s Essential Sound Panel (ESP) simplifies this process with built-in intelligence that automatically balances your audio.
In this guide, you’ll learn how to use the Essential Sound Panel to create smooth, professional mixes for podcasts, videos, and voiceovers — even if you’re not a sound engineer.
1. What Is the Essential Sound Panel?
The Essential Sound Panel (ESP) provides a streamlined way to apply professional audio processing presets.
It analyzes your clips and applies optimized settings for dialogue, music, sound effects, or ambience — all with intuitive sliders instead of complex menus.
💡 Why it matters:
- Speeds up your workflow
- Produces consistent sound across episodes
- Helps non-engineers achieve broadcast-quality mixes
2. Open the Essential Sound Panel
- Go to Window → Essential Sound to display it.
- Select a clip (or multiple clips) in your timeline.
- The panel will automatically recognize and categorize your selection.
You’ll see four options: Dialogue, Music, SFX, and Ambience.
3. Tag Your Audio Clips
Click the appropriate tag for each track:
- 🎙️ Dialogue: Spoken voice or interviews
- 🎵 Music: Background tracks
- 🔊 SFX: Sound effects
- 🌫️ Ambience: Room tone or background sound
Once tagged, custom controls appear for that category.
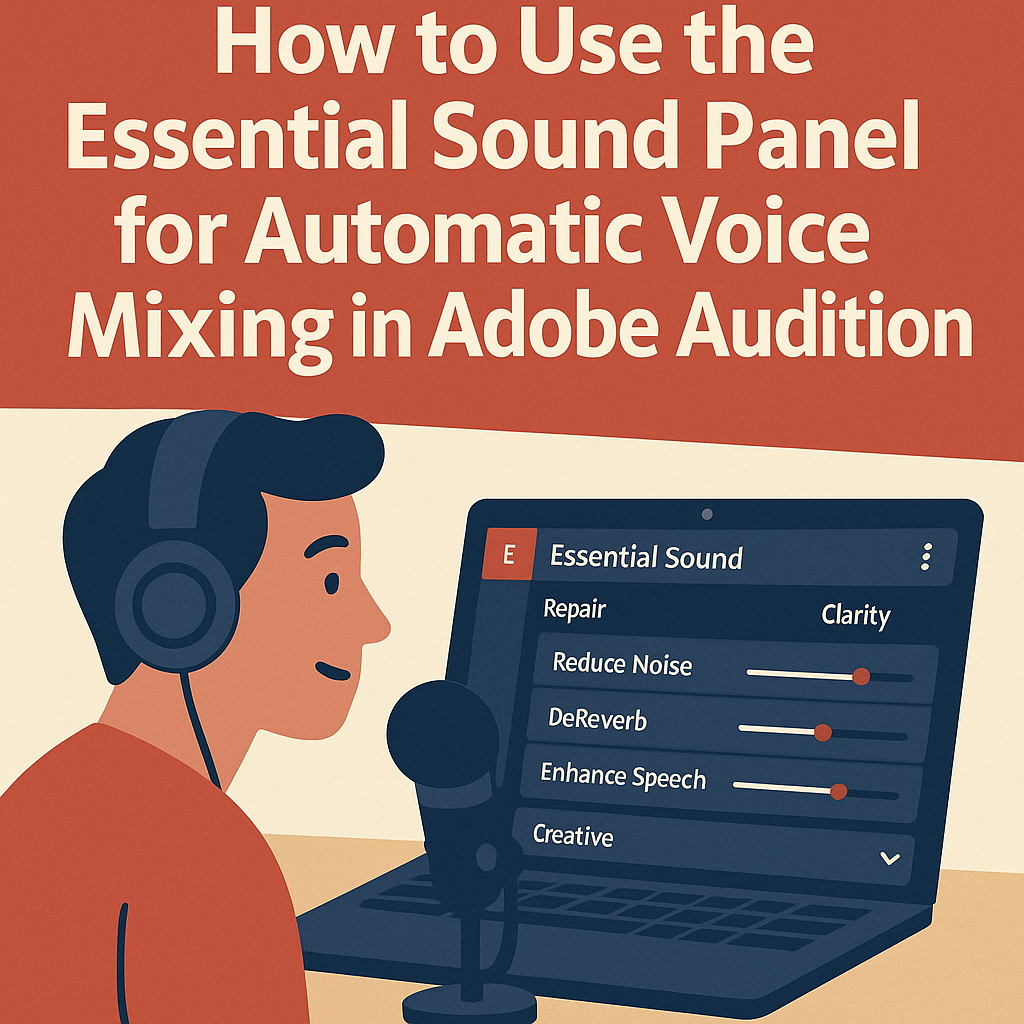
4. Clean Up Dialogue Automatically
After tagging as Dialogue, you’ll see these tools:
✅ Repair Sound
- Reduce Noise: Removes constant hiss or hum.
- Reduce Rumble: Filters out low-end noise.
- DeReverb: Softens echo from untreated rooms.
🎧 Pro Tip: Start with values between 20–40% for natural results. Overprocessing can make voices sound robotic.
5. Balance Volume and Dynamics
Under Loudness, toggle Auto-Match to automatically bring your clip to standard levels.
This is great for podcasts or videos where each speaker recorded with different volumes.
Then adjust Dynamics:
- Compress: Evens out volume between loud and soft parts.
- Expand: Reduces quiet background noise during pauses.
💡 Pro Tip: Combine Auto-Match with light Compression (3:1) for smooth, balanced voices.
6. Add Warmth and Presence with EQ
Scroll down to Clarity and activate EQ.
Choose from presets like:
- 🎙️ Podcast Voice
- 🎤 Vocal Presence Boost
- 🎧 Warm Voice
You can adjust the Amount slider to fine-tune.
Boosting the midrange around 3–5 kHz adds clarity, while cutting around 100 Hz removes low-end rumble.
7. Make Your Voice Pop with Reverb and Enhance
Under Creative, add subtle Reverb for depth (5–10%) and use Enhance Speech for instant clarity.
Choose:
- Male Voice or Female Voice under Enhance Speech Type.
🎙️ Pro Tip: “Enhance Speech” uses Adobe Sensei AI — it intelligently brightens dialogue without EQ guesswork.
8. Mix Music and Effects Automatically
For background music:
- Tag as Music.
- Enable Auto Ducking.
- Choose Duck Against Dialogue.
- Adjust sensitivity and fade timing.
Audition will automatically lower music when someone speaks and raise it again when they stop — effortless audio balance.
9. Save as an Essential Sound Preset
Once you’ve perfected your settings:
- Click the Menu icon (☰) in the panel’s corner.
- Choose Save Preset.
- Name it, e.g., Podcast Voice Clean Mix.
This lets you apply your custom ESP setup to any new project instantly.
10. Export and Review
After processing your clips:
- Export your final mix via Multitrack → Mixdown → Entire Session.
- Check playback on headphones, laptop speakers, and mobile devices to ensure consistent sound quality.
💡 Final Tip: Combine ESP with the Match Loudness Panel for a fully automated mastering workflow.
Conclusion
The Essential Sound Panel transforms Adobe Audition into a one-click mixing powerhouse.
By tagging, cleaning, balancing, and saving presets, you can achieve studio-quality voice mixes in minutes — perfect for podcasts, YouTube videos, or interviews.
Next up: “How to Fix Audio Peaks and Clipping Automatically in Adobe Audition.”
