If you produce a podcast regularly, setting up every new episode from scratch can be time-consuming.
Track routing, effects, music placement, and volume balancing all take time — unless you build a podcast template in Adobe Audition.
A good template lets you open a new session that’s pre-configured with your intros, outros, effects, and track settings, so you can start editing immediately.
In this guide, you’ll learn how to create your own reusable podcast template that speeds up your entire workflow.
1. Why Use a Template?
Templates save time and keep your episodes consistent.
Once set up, you can reuse the same layout for every episode — just replace the dialogue.
🎧 Advantages:
- Faster editing and publishing
- Consistent volume and EQ across episodes
- No need to re-import intros, music, or ads
- Reduced risk of missing effects or plugins
💡 Pro Tip: Treat your podcast template like your “production studio.” Everything should be in place before recording begins.
2. Start a New Multitrack Session
- Open Adobe Audition.
- Go to File → New → Multitrack Session.
- Name it something like Podcast_Template.
- Choose a Sample Rate of 44,100 Hz and Bit Depth of 24-bit.
- Save it in a dedicated folder called Podcast Templates.
You’ll see several empty tracks — now you can start structuring them.
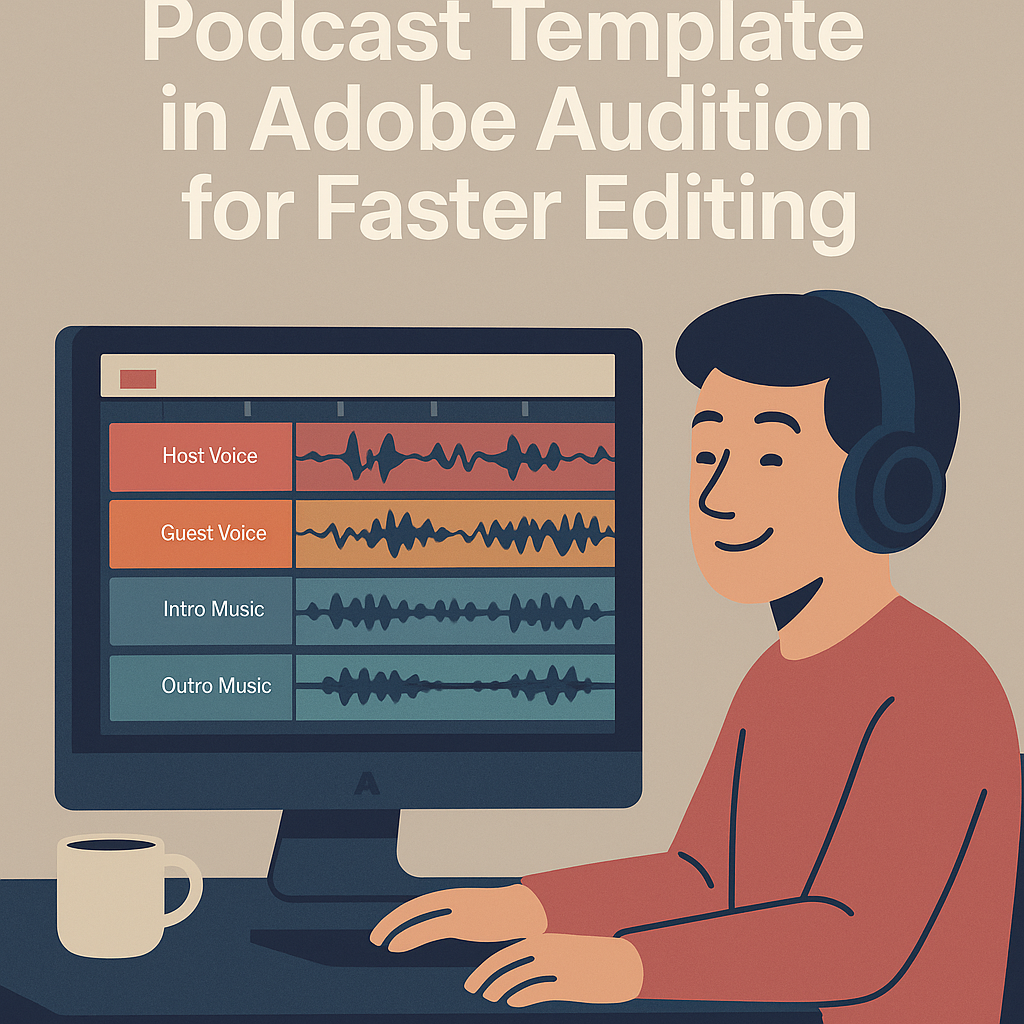
3. Organize and Label Your Tracks
Rename your tracks clearly to keep the workflow clean:
- Track 1: Host Voice
- Track 2: Guest Voice
- Track 3: Intro Music
- Track 4: Outro Music
- Track 5: Ads / Interludes
🎙️ Pro Tip: Use color coding — for example, blue for dialogue, orange for music, green for ads.
4. Apply Preset Effects
Add your favorite processing effects to each track:
| Track Type | Suggested Effects |
|---|---|
| Host Voice | Noise Reduction → Parametric EQ → Compressor |
| Guest Voice | Adaptive Noise Reduction → DeReverb |
| Music | Hard Limiter (to prevent clipping) |
| Outro | Fade Out Automation |
| Ads | Volume Envelopes for quick ducking |
To apply effects, open the Effects Rack and stack them in the order you prefer.
When satisfied, right-click and choose Save Rack Preset to store it for reuse.
5. Add Your Music and Intros
Drag your intro and outro music files into the appropriate tracks.
- Trim the clips to fit your desired length.
- Add fade-ins and fade-outs for smooth transitions.
- Use Auto Ducking in the Essential Sound Panel to automatically lower the music under dialogue.
Now your show’s structure is in place before you record.
6. Save as a Template File
Once everything looks good:
- Go to File → Save As.
- Name it clearly, like Podcast_Template.sesx.
- Store it in your Templates folder for easy access.
Each time you create a new episode, just open this template and choose File → Save As to create a copy with the new episode name.
7. Optional: Add Markers for Routine Sections
To make editing even faster, add Markers for consistent sections like:
- Intro
- Main Discussion
- Ad Break
- Outro
Go to Markers → Add Marker (M key) at each time point.
You can even pre-label them so you never forget segment timing.
8. Build a Library of Templates
As your podcast evolves, you can create multiple templates:
- 🎧 Standard Episode Template — Host + Guest
- 📰 News Recap Template — Short format with sound beds
- 🎵 Interview Template — Extra track for room tone and B-roll
This keeps your workflow flexible while maintaining a consistent professional sound.
Conclusion
Creating a podcast template in Adobe Audition can save hours of setup time every week.
You’ll open each new session ready to record, edit, and publish — with consistent effects, levels, and structure across every episode.
Next up: “How to Set Up a Noise-Free Recording Environment for Podcasts.”
