Mouth clicks, lip smacks, and saliva noises can ruin otherwise perfect recordings — especially in podcasts, audiobooks, and voiceovers.
These small, high-pitched sounds are caused by moisture or lip movement during speech.
Luckily, Adobe Audition has precise tools to remove them efficiently and naturally.
In this guide, you’ll learn how to detect, reduce, and eliminate mouth noises with both automatic and manual techniques.
1. What Causes Mouth Clicks
Mouth clicks usually occur due to:
- Dehydration or dry mouth
- Lip separation noise
- Saliva crackle on the tongue
- Close mic placement or high recording gain
🎙️ Pro Tip: Stay hydrated and use sugar-free lozenges before recording. Avoid coffee or dairy, which increase mouth noise.
2. Identify Clicks in Your Audio
- Open your voice recording in Waveform View.
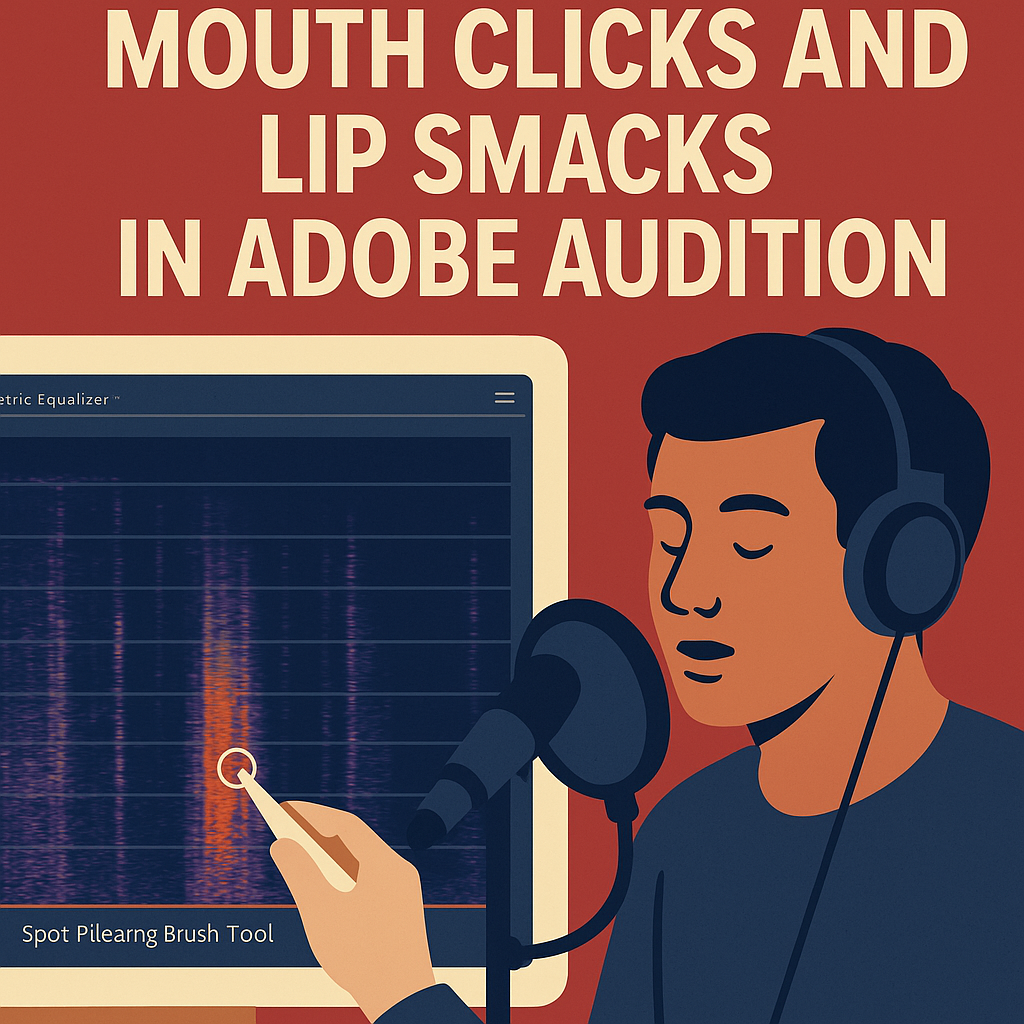
- Switch to Spectral Frequency Display (Shift + D).
- Mouth clicks appear as thin, bright vertical lines in the upper-mid frequency range (around 2–10 kHz).
Zoom in to isolate the noises — they often occur in pauses or at the start/end of words.
3. Use the Spot Healing Brush Tool
The fastest way to remove clicks manually:
- Select the Spot Healing Brush Tool from the toolbar.
- Zoom in on the click region in Spectral View.
- Click and drag across the bright line.
Audition intelligently replaces that frequency with surrounding audio — seamlessly removing the noise.
🎧 Pro Tip: Use a brush size slightly wider than the click pattern for the cleanest results.
4. Try the Automatic Click Remover
For multiple clicks throughout a recording:
- Go to Effects → Noise Reduction / Restoration → Automatic Click Remover.
- Start with these settings:
- Threshold: 10–15
- Complexity: 6
- FFT Size: 2048
- Apply it to the entire track.
💡 Tip: Preview small sections first — this effect can sometimes over-smooth natural voice textures if used too heavily.
5. Use the DeClicker Effect for Detailed Control
For professional voiceover cleanup:
- Go to Effects → Diagnostics → DeClicker.
- Choose “Mouth Clicks” from the Preset menu.
- Click Scan to detect all clicks.
- Then click Repair All.
This specialized tool identifies and removes subtle clicks without dulling your voice.
🎙️ Pro Tip: Save these settings as a preset for future projects — “Mouth Click Cleanup.”
6. Smooth Transitions with the Heal Tool
For any leftover artifacts:
- Highlight the noisy section in Spectral View.
- Choose Favorites → Heal.
This blends frequencies naturally and restores vocal warmth.
7. Batch Clean Multiple Files
If you’re editing a series of podcast episodes or audiobook chapters:
- Save your DeClicker settings as a preset.
- Open Window → Batch Process.
- Add all your files and apply the preset.
Audition will automatically process each one with consistent, professional results.
8. Prevent Mouth Noises Before Recording
While Audition can fix them, prevention is always better:
✅ Drink water before recording.
✅ Maintain consistent mic distance (6–8 inches).
✅ Use a foam windscreen to soften mouth bursts.
✅ Record in a humidified environment (especially in winter).
Conclusion
Mouth clicks and lip smacks are small but distracting details that separate amateur from professional audio.
By using Adobe Audition’s Spectral Editing, DeClicker, and healing tools, you can ensure your voice tracks sound polished, natural, and ready for publishing.
Next up: “How to Remove Breathing Sounds from Dialogue in Adobe Audition.”
