If you’ve ever listened to a podcast where one speaker sounds loud and the other barely audible, you know how distracting inconsistent volume can be.
That’s where Adobe Audition’s Dynamics effect comes in — a powerful tool that balances your audio, keeping everything sounding smooth and even.
In this tutorial, you’ll learn how to use compression, expansion, limiting, and gating within the Dynamics effect to achieve professional-level consistency in your mix.
1. What Is the Dynamics Effect?
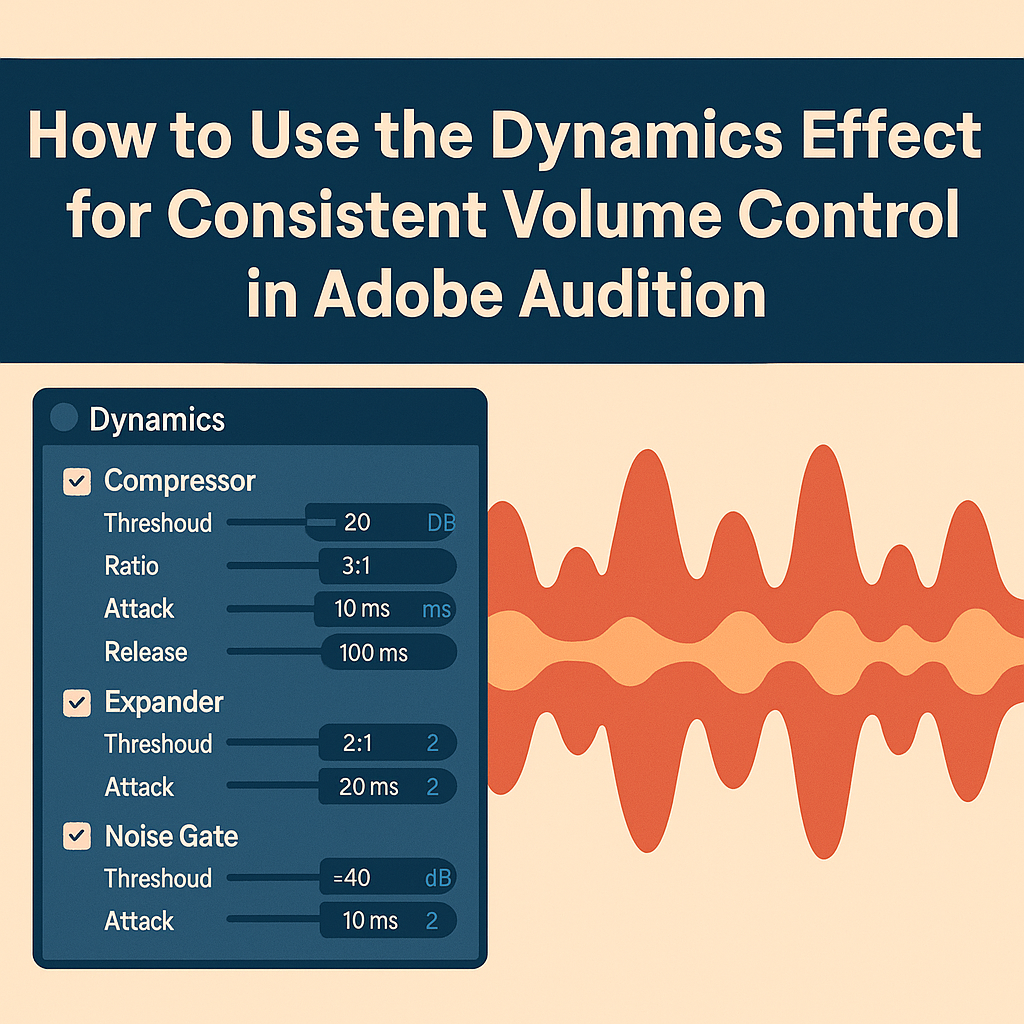
The Dynamics effect is an all-in-one module combining four essential audio processors:
- Compressor: Reduces loud peaks.
- Expander: Reduces low-level noise.
- Limiter: Prevents clipping.
- Noise Gate: Cuts unwanted silence or background sound.
🎧 Pro Tip: Think of it as your “audio leveling control room” — ideal for podcasts, interviews, and voiceovers.
2. Open the Dynamics Effect
- Open your file in Waveform View.
- Go to Effects → Amplitude and Compression → Dynamics.
- A window appears with tabs for each processor section.
💡 Use Preview to hear your adjustments in real time.
3. Start with the Compressor
The Compressor is key to controlling volume differences between loud and quiet moments.
Recommended settings for podcasts:
- Threshold: –20 dB
- Ratio: 3:1
- Attack: 5 ms
- Release: 100 ms
- Make-Up Gain: +3 dB
💡 Tip: Watch the Gain Reduction Meter — aim for 3–6 dB of reduction for natural results.
🎧 Pro Tip: The compressor makes soft voices louder and loud voices softer, ensuring a stable listening experience.
4. Use the Expander to Reduce Background Noise
The Expander helps lower room noise or mic hiss between phrases.
Try this setup:
- Threshold: –40 dB
- Ratio: 2:1
- Attack: 10 ms
- Release: 250 ms
💡 It’s like a subtle noise gate, but smoother — perfect for quiet rooms.
5. Add the Limiter to Prevent Clipping
To avoid distortion when exporting your mix:
- Enable the Limiter at the bottom of the window.
- Set Threshold: –1 dB
- Set Input Boost: +2 to +3 dB
- Keep Release Time: 100 ms
🎧 Pro Tip: This ensures no peaks exceed –1 dB, keeping your mix broadcast-safe.
6. Apply the Noise Gate for Cleaner Silence
If your recording includes unwanted background sounds when the speaker pauses:
- Turn on Noise Gate.
- Set Threshold: –45 dB.
- Set Attack: 5 ms and Release: 200 ms.
💡 Tip: Too high a threshold may cut off soft words — test carefully.
7. Chain the Processors Together
The power of the Dynamics effect comes from using all components in sequence:
- Compressor → Expander → Limiter → Noise Gate
- Adjust each section in small increments.
- Revisit earlier sections after changes — everything interacts.
🎧 Pro Tip: Save different versions for different environments (e.g., studio vs. remote recordings).
8. Save Your Custom Preset
Once you achieve the right sound balance:
- Click Presets → Save Settings As.
- Name it Podcast Leveler Chain.
- You can now apply it to every episode for consistent results.
💡 This is especially useful when editing multiple speakers recorded at different levels.
9. Use in Multitrack View
To apply the Dynamics effect to a track non-destructively:
- Switch to Multitrack View.
- Open the Effects Rack.
- Add Amplitude and Compression → Dynamics.
- Choose your saved preset.
🎧 Perfect for mixing podcast episodes or video dialogues with varying vocal intensities.
10. Combine with Match Loudness for Final Consistency
After applying Dynamics:
- Go to Window → Match Loudness.
- Set target loudness to –16 LUFS.
- Enable True Peak Limiter (–1 dB).
- Click Run.
💡 This ensures consistent perceived loudness across platforms like Spotify, YouTube, and Apple Podcasts.
Conclusion
The Dynamics effect in Adobe Audition is one of your best tools for creating balanced, professional-sounding audio.
By combining compression, limiting, and noise control, you can deliver smooth, polished voice recordings that sound great on any device or platform.
Next up: “How to Use Multiband Compression for Full Mix Mastering in Adobe Audition.”
