Clicks, pops, and mouth noises can sneak into even the best voice recordings — especially during close-mic sessions or live interviews.
Adobe Audition’s Spectral Frequency Display gives you a visual way to find and fix these unwanted sounds with surgical precision.
In this guide, you’ll learn how to use Audition’s powerful spectral tools to clean up clicks, pops, and other transient noises for a professional, polished finish.
1. What Is the Spectral Frequency Display?
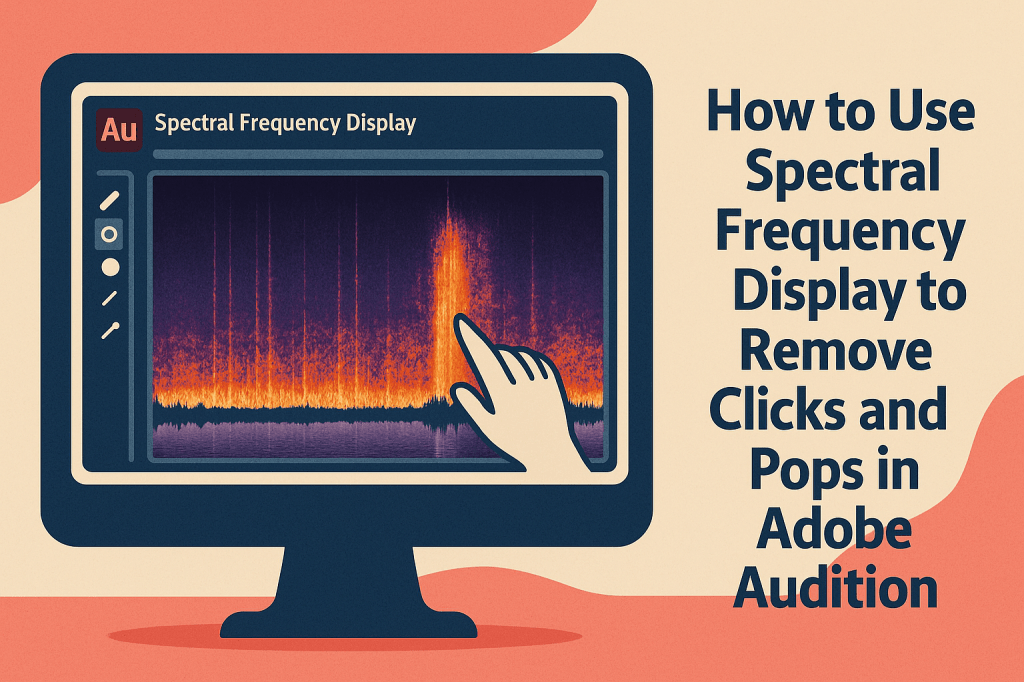
The Spectral Frequency Display (SFD) visualizes sound by showing frequency (pitch) over time and color intensity to represent volume.
Instead of just seeing a waveform, you can literally “see” problem noises like clicks, hums, or lip smacks as bright spikes.
🎧 Pro Tip:
Use SFD for detailed cleanup when traditional noise reduction doesn’t target small artifacts.
2. Open the Spectral Frequency Display
- Open your audio file in Waveform View.
- Press Shift + D (or click the Spectral View icon at the top of the editor).
- You’ll now see a color-coded view — brighter areas represent louder sounds.
💡 Color Tip:
- Bright orange/yellow = higher volume
- Purple/blue = quiet frequencies
3. Zoom In on the Problem Area
Play through your recording and listen for clicks or pops.
When you hear one:
- Pause playback.
- Zoom in both vertically (frequency) and horizontally (time) to isolate the noise.
🎧 Pro Tip: Use your mouse wheel while holding Alt (Windows) or Option (Mac) for precise zooming.
4. Select the Click or Pop
- Use the Spot Healing Brush Tool (B) or Lasso Tool (L) to draw around the click.
- You’ll see a small vertical line or burst representing the unwanted noise.
- Keep your selection as tight as possible to avoid affecting nearby audio.
5. Heal the Noise
With your selection made:
- Go to Favorites → Repair Sound.
- Or simply press B if you’re using the Healing Brush.
Audition intelligently replaces the noisy section with surrounding audio data — just like Photoshop for sound.
💡 Pro Tip: Repeat on multiple areas for a complete cleanup pass.
6. Use the “Click/Pop Eliminator” Effect
If your file contains many small clicks:
- Go to Effects → Noise Reduction/Restoration → Click/Pop Eliminator.
- Choose Automatic Click Remover to start.
- Adjust Threshold: 20–30 for subtle clicks, 40–60 for heavy distortion.
- Click Apply.
🎧 Pro Tip: Use this effect sparingly; too high a setting can soften vocal transients.
7. Use the “DeClicker” Tool for Voice Recordings
For frequent mouth clicks or digital artifacts:
- Go to Favorites → DeClicker.
- Choose Medium or Heavy Reduction.
- Preview to ensure natural tone retention.
💡 Combine this with manual cleanup for a perfect voiceover track.
8. Verify Your Fixes
Switch back to Waveform View (Shift + D) to confirm your repairs.
Listen carefully on headphones for:
- Smooth transitions
- No hollow or “patched” sounds
- Maintained voice clarity
🎧 Pro Tip: Use short fade-ins/outs on repaired regions if any slight popping remains.
9. Batch Clean Large Files
For long podcast episodes or interviews:
- Use Effects → Diagnostics → DeClicker.
- Scan the entire file for transients.
- Click Repair All.
💡 Perfect for cleaning large dialogue sessions automatically before fine-tuning.
10. Save and Export
Once satisfied:
- Save your cleaned session as a new file (
Episode_Cleaned.wav). - Export to WAV (48 kHz / 24-bit) for archiving or MP3 (192 kbps) for distribution.
🎧 Always keep an untouched backup of the original file for safety.
Conclusion
The Spectral Frequency Display in Adobe Audition turns sound repair into a visual art.
By combining healing tools, DeClicker effects, and spectral precision, you can restore recordings to pristine quality — perfect for podcasts, audiobooks, or professional voiceovers.
Next up: “How to Use Parametric EQ for Perfect Vocal Balance in Adobe Audition.”
