The difference between an amateur podcast and a professional one often comes down to EQ.
Using Adobe Audition’s Parametric Equalizer, you can sculpt your voice to sound clear, warm, and balanced — without hiring an audio engineer.
In this tutorial, you’ll learn how to use the Parametric EQ to fine-tune your vocal tone, remove muddiness, and enhance presence for a studio-quality result.
1. What Is a Parametric EQ?
A Parametric Equalizer allows precise control over different frequency ranges in your audio.
You can boost or cut specific tones (bass, mids, treble) to shape the sound of your voice.
🎧 Think of EQ as tone sculpting:
- Low frequencies = warmth
- Mids = clarity
- Highs = presence and brightness
💡 Pro Tip: Always use EQ after removing noise or reverb — not before.
2. Open the Parametric Equalizer
- Select your audio clip in Waveform View.
- Go to Effects → Filter and EQ → Parametric Equalizer.
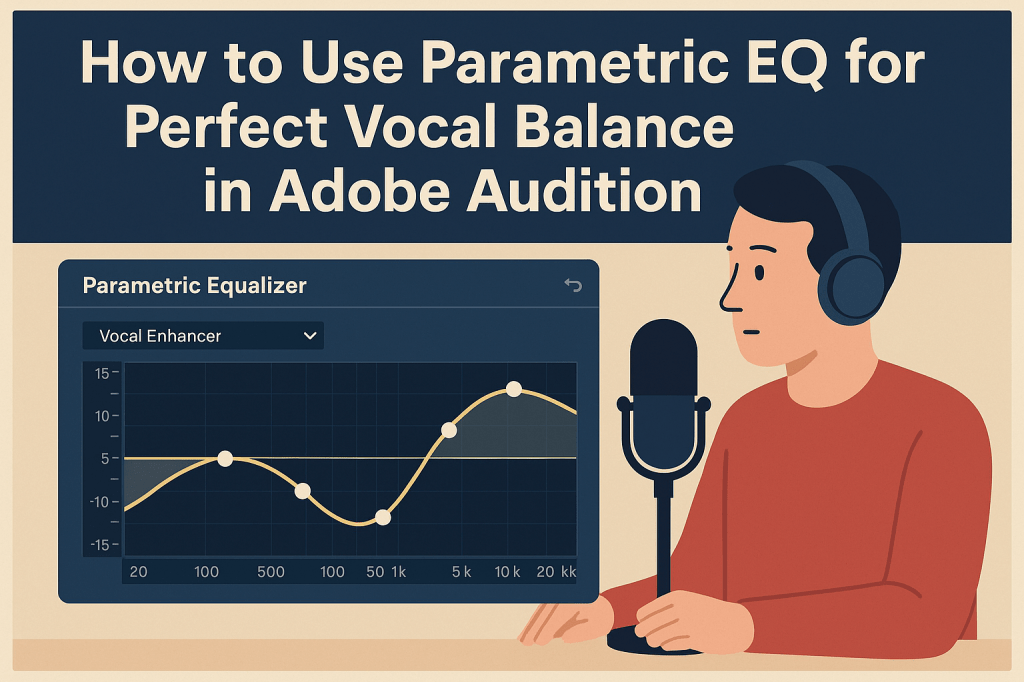
- The EQ interface will appear with a frequency graph and control points.
🎧 You can preview changes in real-time as you adjust sliders or curve points.
3. Start with a Preset
Audition includes great starting points for voice EQ:
- Vocal Enhancer → boosts clarity and brightness
- Podcast Voice → smooths mids and controls harshness
- Broadcast → creates a strong, polished tone
💡 Tip: Always preview each preset, then tweak to match your specific voice.
4. Clean Up the Low End
Unwanted bass frequencies can make a voice sound muddy or boomy.
Use a High-Pass Filter (HPF) to remove them:
- Enable HP Filter on the left side of the EQ graph.
- Set the cutoff frequency to around 80–100 Hz.
- Adjust the slope (dB/octave) to make the transition smooth.
🎙️ Pro Tip: Male voices can go lower (cut around 70–80 Hz); female voices sound cleaner with a higher cutoff (100–120 Hz).
5. Remove Muddiness (Low-Mids)
Muddiness typically lives between 200–400 Hz.
- Use Band 2 or 3 to make a small cut in this range (–2 to –4 dB).
- Narrow the Q value slightly (around 2.5–3).
💡 This simple step instantly improves clarity and makes room for background music.
6. Add Warmth (Midrange)
Warmth lives around 500–800 Hz.
- If your voice sounds thin, boost this range slightly (+2 to +3 dB).
- If it sounds boxy, make a small cut instead.
🎧 Pro Tip: Listen on headphones — this range affects natural tone perception the most.
7. Enhance Presence (High-Mids)
For vocal clarity and presence, adjust 2 kHz–5 kHz:
- Boost 3–4 kHz for intelligibility
- Boost 5–6 kHz for sparkle or articulation
💡 Be gentle — too much can cause harshness or sibilance.
8. Add Air and Brightness
The final polish comes from subtle high-end enhancement:
- Use Band 6 or 7.
- Apply a gentle boost between 8–12 kHz (+2–3 dB).
- This adds openness and sheen — like studio “air.”
🎧 Pro Tip: Combine this with a De-Esser to control sharp “s” sounds.
9. Save Your Custom EQ Preset
Once you’ve perfected your sound:
- Click the Preset Menu → Save Settings As.
- Name it (e.g., Podcast Warm Voice EQ).
- Reuse it across future recordings for consistent tone.
💡 For teams, share your preset file so every episode maintains the same sonic identity.
10. Apply in Multitrack Mode
You can also apply your EQ preset non-destructively:
- Switch to Multitrack View.
- Open the Effects Rack for your track.
- Add Filter and EQ → Parametric Equalizer and select your custom preset.
🎧 This allows easy adjustments as you balance music and other voices.
Conclusion
The Parametric EQ in Adobe Audition is one of your most powerful tools for achieving a clean, professional vocal sound.
By cutting muddiness, enhancing presence, and adding brightness strategically, you’ll make your recordings sound rich and radio-ready — every time.
Next up: “How to Use the De-Esser Effect to Tame Harsh Sibilance in Adobe Audition.”
