When adding background music to a voiceover, timing is everything.
If the music tempo feels off — too fast, too slow, or not aligned with speech rhythm — the final mix can feel awkward or rushed.
Adobe Audition provides simple yet powerful ways to match your music’s tempo to the pace and phrasing of your voiceover, ensuring a natural, professional flow.
1. Why Tempo Matching Matters
In audio storytelling, the music sets the emotional rhythm while the voice drives the message.
When these two are aligned:
- Transitions feel smoother
- Energy matches the narrative tone
- Edits between sections sound natural
🎧 Example: A slow, reflective section should use relaxed background music, while upbeat narration benefits from faster pacing.
2. Import Your Audio Files
- Open Adobe Audition → File → New → Multitrack Session.
- Import both your voiceover and music tracks.
- Place the voiceover on Track 1 and the music on Track 2.
💡 Pro Tip: Use short, loop-ready music beds rather than full songs for more flexible editing.
3. Determine the Voiceover Pace
Play through your voiceover and identify its average rhythm or timing:
- Calm narration = slower pace (60–80 BPM)
- Conversational tone = medium pace (90–110 BPM)
- Energetic promo = faster pace (120+ BPM)
You can roughly estimate tempo by noting how often the speaker’s natural emphasis aligns with beats.
4. Find or Adjust a Matching Music Track
If your music doesn’t fit the speech tempo, you can stretch or compress it without changing pitch.
- Select the music clip.
- Go to Properties Panel → Clip Stretching.
- Enable Maintain Pitch.
- Drag the clip’s edge while holding Alt (Windows) or Option (Mac) to time-stretch the audio.
🎧 Tip: Use small adjustments (±5–10%) to keep the sound natural.
5. Sync Key Musical Moments to Speech
Align musical transitions — like downbeats, breaks, or crescendos — with moments in your narration:
- Start or end phrases
- Topic changes
- Emotional emphasis
Zoom into the waveform and adjust clip timing so beats land just before or on major voice inflections.
💡 Pro Tip: This subtle alignment increases perceived synchronization without needing perfect BPM matching.
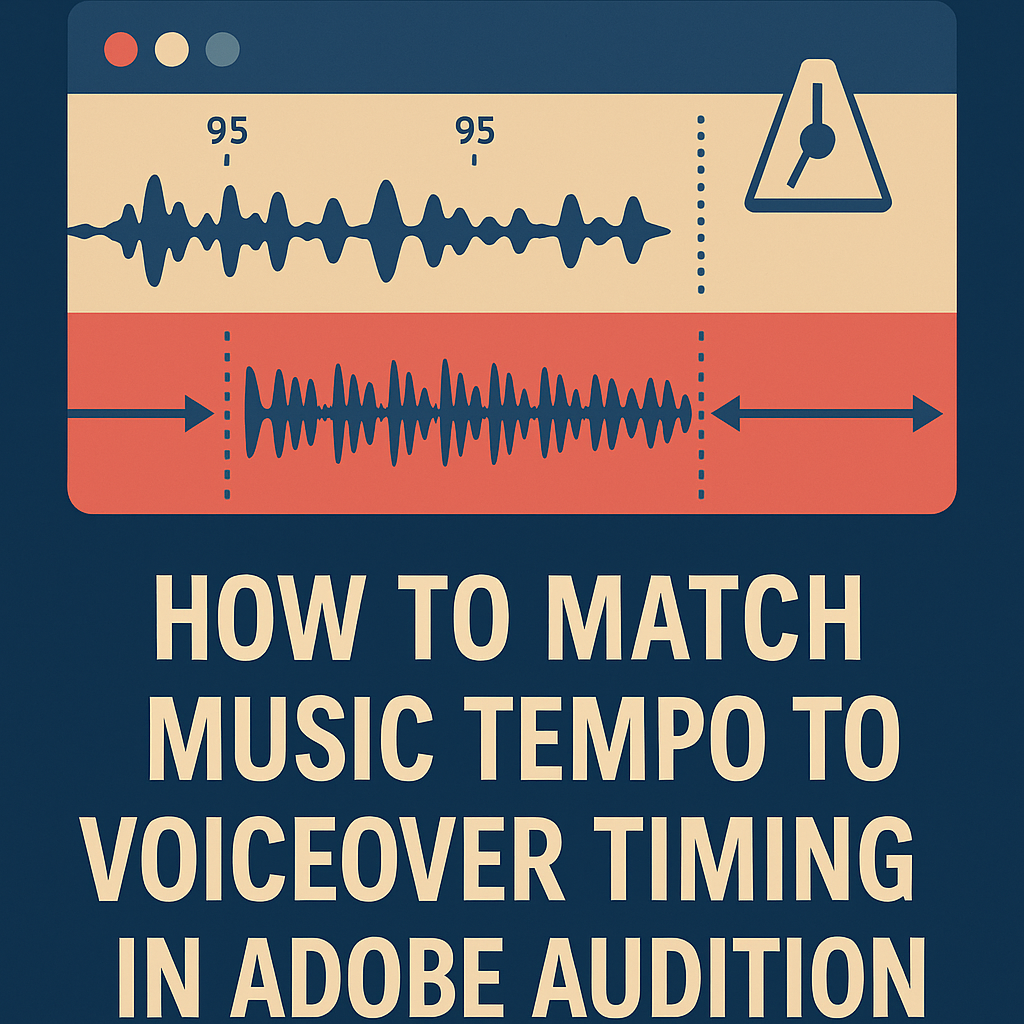
6. Use Adobe Audition’s Metronome
If you need precision:
- Enable the Metronome (View → Metronome).
- Set a tempo that matches your voiceover’s pacing (e.g., 95 BPM).
- Adjust your music bed to align with this guide rhythm.
This is especially useful when composing or looping custom beds under narration.
7. Loop and Extend Background Music
For longer voiceovers, you may need to extend or loop music smoothly:
- Cut the music at clean phrase points (usually every 4 or 8 bars).
- Crossfade between segments (drag one clip over another).
- Use Equal Power fade type for consistent loudness.
🎙️ Pro Tip: Avoid looping full choruses — use instrumental or rhythmic sections for seamless blending.
8. Adjust Energy with Volume Automation
To enhance pacing dynamics:
- Use Volume Envelopes to raise music slightly during pauses.
- Lower it subtly during dense speech sections.
This keeps the energy consistent while maintaining clarity.
9. Final Loudness and Balance
After syncing tempo and timing:
- Open Match Loudness Panel.
- Target –16 LUFS for the voice track and –25 LUFS for background music.
- Export your final mix as WAV or MP3 (192 kbps).
💡 Tip: Always check your mix on multiple playback devices — headphones, monitors, and mobile.
Conclusion
Matching your music tempo to your voiceover’s pacing transforms a simple mix into an engaging production.
With Audition’s stretching, metronome, and automation tools, you can synchronize rhythm and emotion effortlessly — making your project feel polished and professional.
Next up: “How to Use Markers and Labels to Organize Your Audio Projects in Adobe Audition.”
